Key Highlights
- Making ceramic flowers is easy to start, even if you have not done it before. You just need a bit of practice.
- You can use any kind of soft, wet clay for your potteries. It does not need to be the classic bone china.
- First, pick your clay. Then, shape the petals and put the flower together.
- You just need simple tools to do this. A roller and some carving tools are enough to get nice details in your flowers.
- After you put the flower together, let it dry fully. Then, it has to be fired in a kiln. Last, you can glaze it.
- Today, new methods help to fire and color your ceramic potteries more simply than in the past.
Introduction
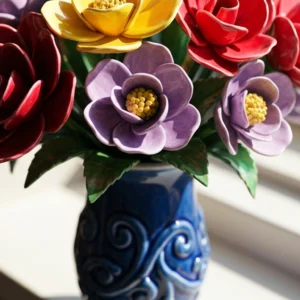
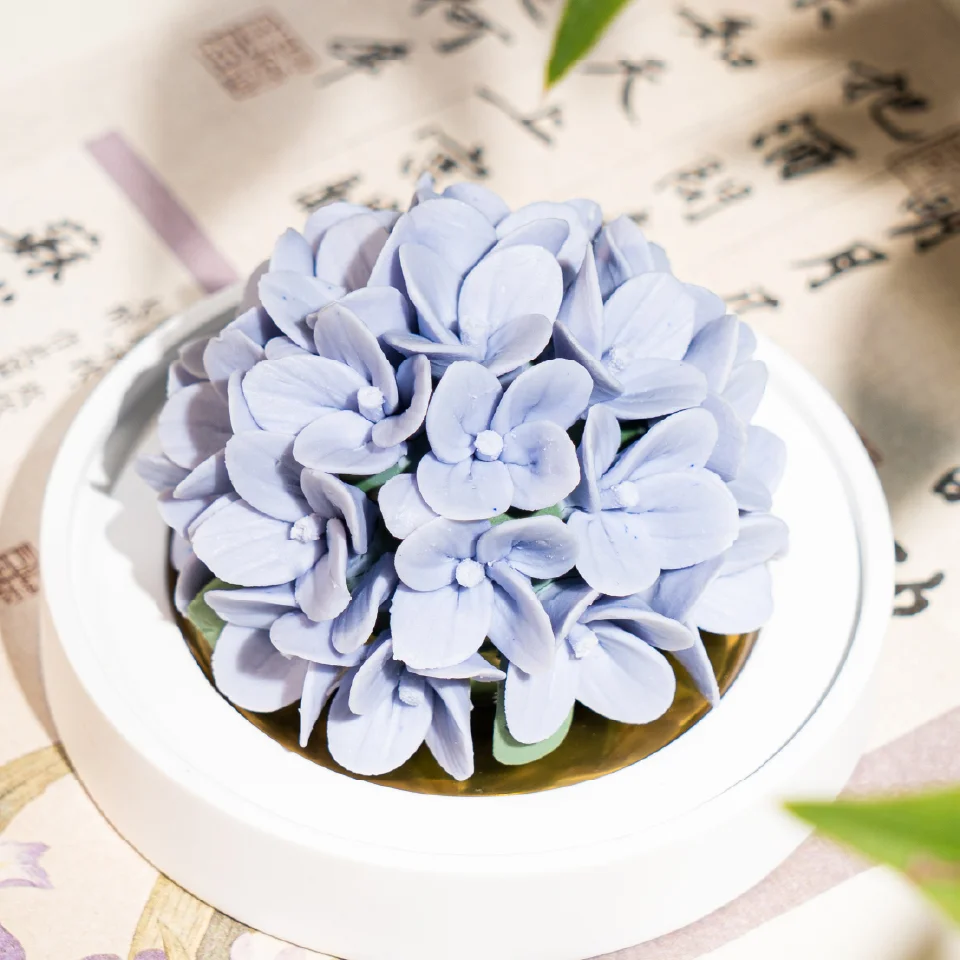
Welcome to the beautiful world of ceramic flower making. People have been making these flowers for a long time. It started with the fancy floral designs on potteries around the mid-1700s. In the Victorian era, bone china flowers were used to decorate things like vases and small jewelry pieces.
Even if this craft looks hard, it is easier than many might think. A beginner can get started with a bit of help and practice. You will soon be able to make lovely ceramic flowers at home. These handmade pieces can last a long time and brighten up your space.
Essential Materials and Step-by-Step Guide for Making Ceramic Flowers
Before you shape your first petal, you need to have the right materials with you. The good thing about making ceramic flowers is you will not need many pieces of equipment. A few basic tools and the correct clay will help you get started with your first potteries.
This guide will help you with every step. You will start with getting your clay ready. Then, at the end, you will learn how to fire it. You will see how to shape petals, put your flower together, and add the last details. Let’s look at the supplies you will need. Then, you will know the first step to start your creative work.
What You’ll Need: Tools, Clay Types, and Supplies
To make pretty ceramic flowers, you will need some basic things. Start with sculpting tools. They help you shape and smooth your work the way you want. Pick which clay to use, like earthenware or stoneware. The kind of clay matters for how your project will look and how strong it will be. Use a rolling pin to make the clay flat. You also need a good place to work on your ceramic art. Get glazes or underglazes to give bright colors to what you make. With these things, you can begin making your own ceramic flowers just how you want them.
Step 1: Choosing and Preparing the Right Clay
The strength of any pretty ceramic flower is in the clay that you use. Your chance to do well starts when you pick the right kind of clay. A long time ago, many potteries made things out of bone china, but you can still make good-looking flowers out of most kinds of clay, as long as it is soft and has enough water in it. If you are new to this, earthenware or stoneware clay is usually easier to use than bone china.
If you want to work with bone china, keep in mind that this clay can be very sticky. To stop it from sticking to your hands, use a bit of sunflower oil or another oil. Just rub it on your fingers before you start. This helps a lot when you are making small flowers that fit in your hand, as bone china is good for making these tiny pieces.
No matter what clay you pick, practice is the most important part. You need to get used to the feel of the material. This is key for anyone who wants to work with ceramic. Try out different kinds of clay. See which one is the best for you and the things you want to make. Don’t be afraid to test new clay for your next ceramic project.
Step 2: Shaping Petals and Creating Flower Components
Now it’s time to make your flower look real. Start by making each part step by step. Begin with the petals. Take a small piece of clay. Shape it so it looks like one petal. Use a rolling tool to make the clay thin. This will help your petal to feel more soft and real. After you roll it, keep shaping and carving it until it looks how you want.
Repeat this step for every petal. A simple flower usually has six petals that are close to the same size. You will need to make a small base with clay, too. This base keeps the petals together and makes the bottom part of your flower.
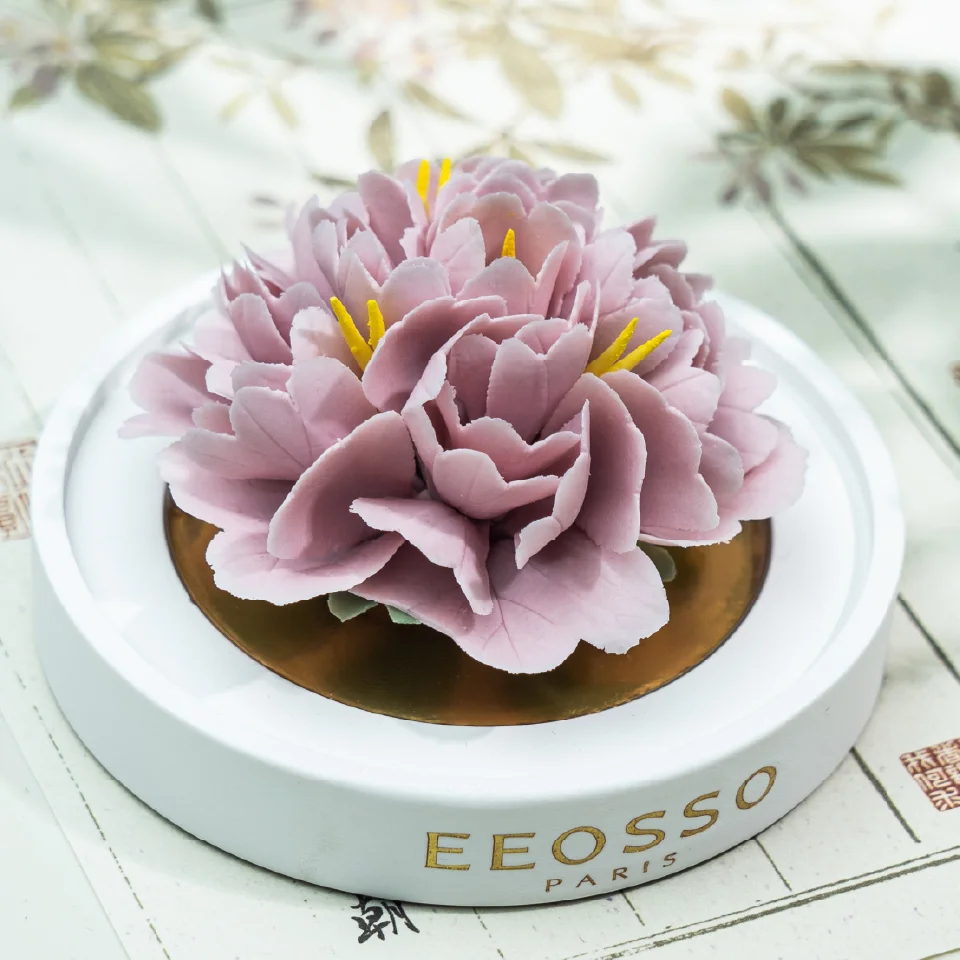
When you have the petals and base set, you can start to make small inner petals or a center for your flower. The special touches like these make your ceramic potteries stand out from the rest. Try to shape each part slowly. Make sure you feel good about how it looks before you put it all together.
Step 3: Assembling and Attaching Stems to Your Ceramic Flowers
After you have made all the pieces, you can start to put together your ceramic flower. The way to do this is called “slipping and scoring.” First, scratch the part of the clay that you want to join, like the bottom of each petal and the place on the base where it will go. Next, put a little “slip” (a thin clay mix) on the scratched parts. Press them together. This helps to make a strong and lasting bond for your ceramic flower.
Attach your six big petals to the base first. Next, add any small petals and the center part. After all the pieces are on, you can softly shape the full flower. Move the petals around until you feel good about how it looks. If you want to put on a stem, there are a couple of ways to do that.
- You can make a small hole or channel in the clay base before it dries. After you fire it, put a wire stem in with a strong glue.
- For potteries that need to be joined to a bigger sculpture or vase, try the slip-and-score method. This helps you attach the flower right onto the wet or leather-hard clay of the other piece.
Step 4: Drying, Firing, and Glazing Techniques
It is important to be patient at this last step with your ceramic flower. The piece must sit and dry all the way through before you fire it. This may take several days. How long will depend on how thick the clay is and how much moisture is in the air where you are. You need to feel that the clay is at room temperature, and see that it has turned a lighter color. People call this stage “bone dry.” If you hurry and don’t let the ceramic dry fully, it can crack or break when you put it in the kiln.
In the past, making pottery used to take a lot of work and big bottle kilns. People had to spend several days to get the job done. These days, it’s much easier with electric kilns. You set the heat on a panel, and the kiln does most of the work for you. The first step, known as the bisque firing, changes the soft clay into a hard ceramic.
After the first firing, you can use color and glaze for your flower. These are some new benefits:
- You can add colors when the clay is wet, leather-hard, or after it has been bisque-fired.
- Now, you are able to fire all colors together at the same temperature. This was not possible before.
- After you glaze it, the piece is fired again. This makes the glaze hard and gives your flower a nice, shiny finish.
Conclusion
Making ceramic flowers can be a fun way to be creative. This blog shows you what materials you need and gives you steps you can follow. Even if you are new to this, you can make nice pieces. Take your time with each part. You will need to pick good clay and also learn how to glaze well. Every step matters and helps you make something great at the end. Enjoy making things with your hands and let your ideas grow. Get your ceramic supplies ready and start making your own pretty ceramic flowers today!
Frequently Asked Questions
What type of clay is best for beginner ceramic flower projects?
If you are new to ceramic work, it is a good idea to start with earthenware or stoneware clay. These types of clay are simple to use and work well for beginners. They are not as tricky as bone china, so you will feel more at ease as you learn. If you do not have a kiln, try using air-dry clay for your first ceramic flower projects. This is a great way to practice how to sculpt without special tools or firing.
How do I securely attach wire stems to ceramic flowers?
To make sure a wire stem stays in place, start by making a small hole or channel at the bottom of your flower. Do this while the clay is still wet. When you have fired and glazed the flower, you can push the wire into the hole. Use a strong two-part epoxy glue to hold the wire. This will help give a tight and lasting fit.
How long should ceramic flowers dry before firing?
Your ceramic flowers need to be fully bone dry before you fire them. Drying can take a few days or up to a week. This depends on how thick your ceramic flower is and how much humidity is in your space. If you try to rush it, your piece can break. So, it’s best to wait and be patient during this step.
Where can I find inspiration or patterns for different ceramic flower designs?
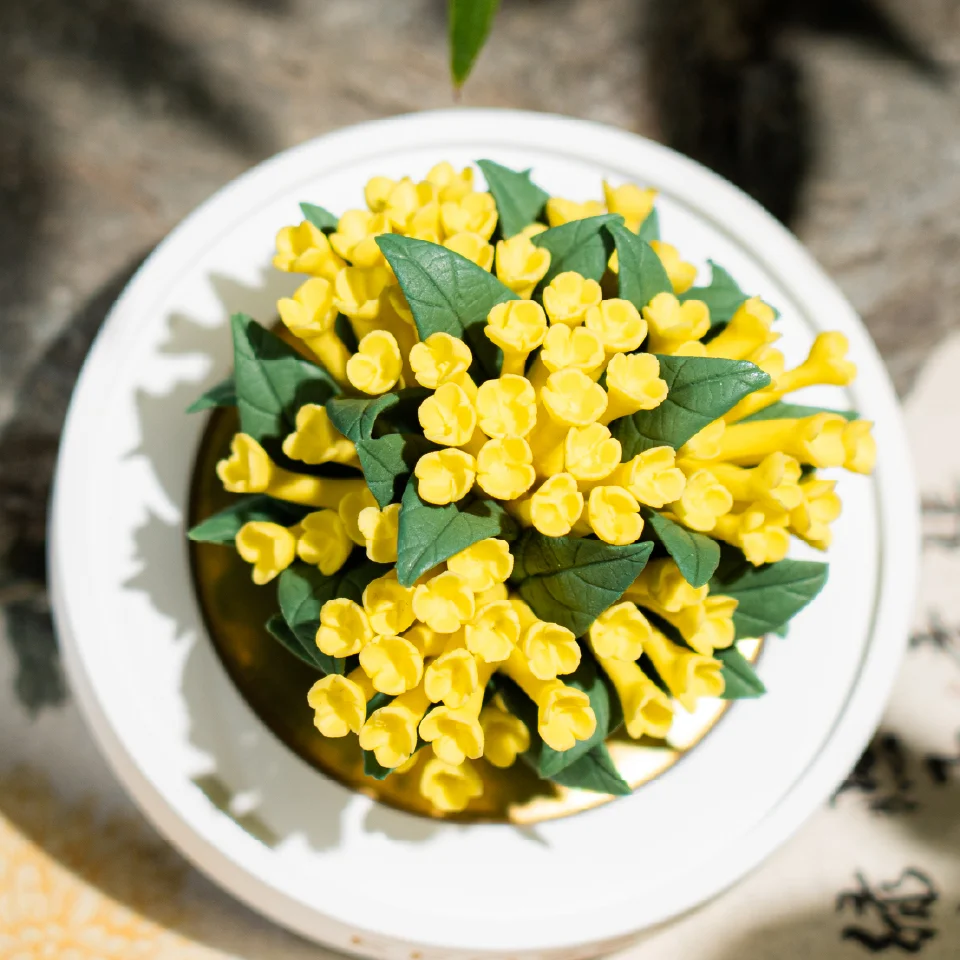
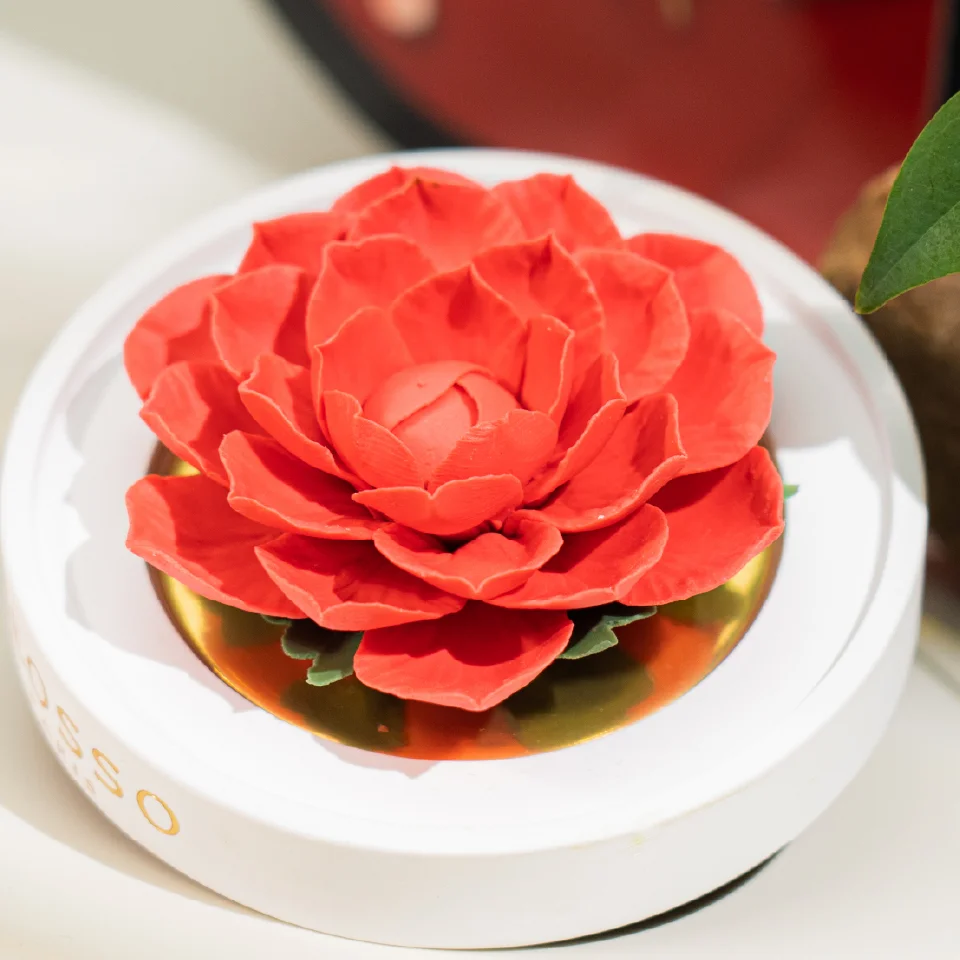
You can get a lot of ideas from nature by looking at real flowers like roses, daffodils, and poppies. If you want to see patterns from the past, check out old potteries like the flower-filled Coalbrookdale ware from the 1800s. These designs are perfect for starting your own special ceramic flower projects.